🍃🍂🍁🍃🍂🍁🍃🍂🍁🍃🍂🍁🍃🍂🍁🍃🍂🍁🍃🍂🍁🍃🍂🍁🍃🍂🍁🍃🍂🍁🍃🍂🍁🍃🍂🍁
With a limited budget at hand, I always have to consider purchasing decorations from Dollar Tree and repurposing them to my own liking. There are many tutorial videos on YouTube, which give me plenty of ideas. Last year, I started with some Halloween decor. I’m still learning. It is a lot of fun to be creative and to accomplish something that I can be proud of.
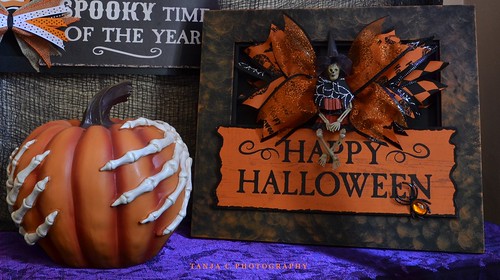
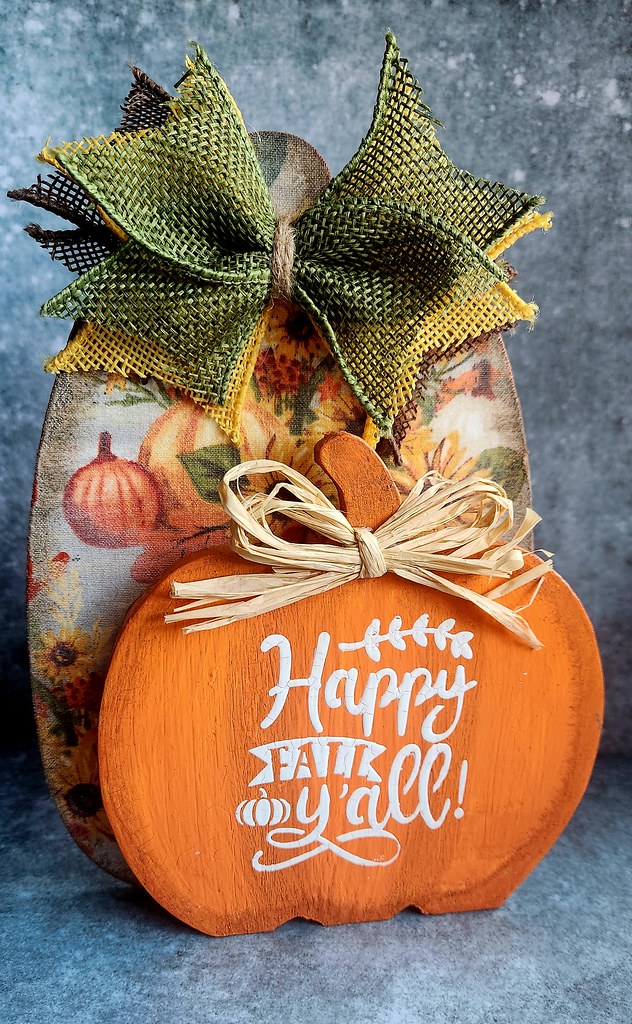
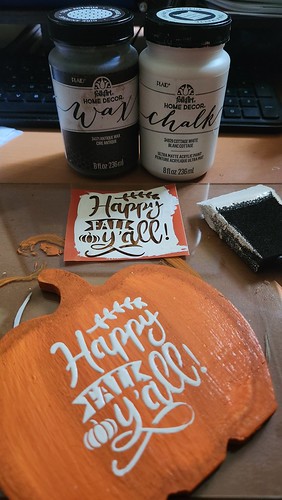
The last couple of days, I worked on this pumpkin shelf sitter. The top left image shows the original purchased item. And the top right image shows my own style. Below, I will describe the process in a few photos.
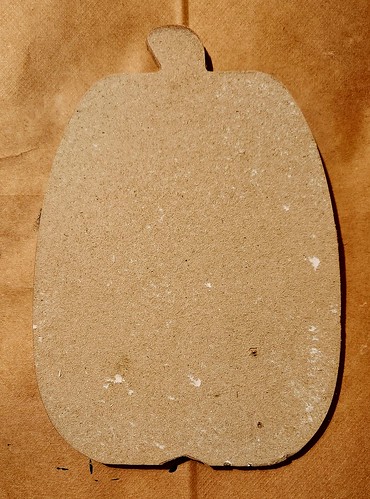
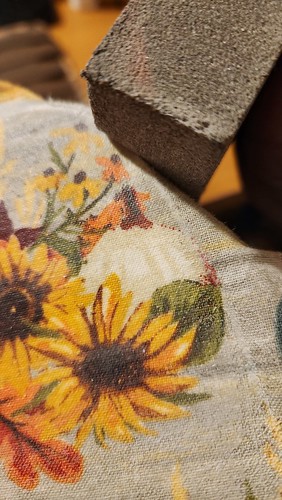
I separated the pumpkin pieces and peeled off the decorative paper. After sanding and cleaning both pumpkins, I gave them a coat of white chalk paint. I let the paint completely dry. I picked one of my Autumn fabrics and glued it on the front of the taller pumpkin (I cut the fabric into a rectangle to the size of the pumpkin. It’s better to leave some fabric over the edges, which can be trimmed later.) Once the fabric was spread on the pumpkin, I brushed another coat of Mod Podge on top of it. Then I let it completely dry. The dried Mod Podge gives the fabric a paperlike texture, and the edges can easily be sanded off. Once the edges were sanded and cleaned with a baby wipe, I lightly tapped some antic wax around the edges of the pumpkin. (I always start with the wax lightly and add more as I go. This way I avoid getting too much wax on the fabric because it is much harder to correct it afterward.)
While I waited for the tall pumpkin to dry, I always worked a little bit on the smaller pumpkin. I mixed “Pumpkin Orange” with a couple of drops of “Chestnut” (Apple Barrel) and gave the pumpkin two coats. I always let one coat dry before I add another coat. Once the paint was dry again, I used my antic-wax around the edges. With a tissue and a small amount of antic wax, I drew the grooves to make the pumpkin look more realistic. Later, I stenciled “Happy Fall, y’all!” on the smaller pumpkin.
Before I glued the pumpkins together, I added a couple of Jenga blocks as risers. This gives the pumpkins a greater optical depth than being directly glued on top of each other. I still had a raffia bow, and I hot-glued it to the smaller pumpkin. For the tall pumpkin, I used burlap ribbons to make a lazy bow. And the new pumpkin shelf sitter is done.
🍃🍂🍁🍃🍂🍁🍃🍂🍁🍃🍂🍁🍃🍂🍁🍃🍂🍁🍃🍂🍁🍃🍂🍁🍃🍂🍁🍃🍂🍁🍃🍂🍁🍃🍂🍁